1
Integrate CodeRabbit into a GitHub repository that you own
2
Observe CodeRabbit perform a code review of a pull request that you initiate
3
Converse with CodeRabbit about the code review
4
Prompt CodeRabbit to generate its own improvements to the pull request
While this tutorial focuses on GitHub, CodeRabbit also works with GitLab,
Azure DevOps, and Bitbucket. For more information, see Integrate with Git
platforms.
Before you begin
Create a new, private repository on GitHub. Name the new repositorycoderabbit-test, and let it have otherwise default GitHub settings.
Integrate CodeRabbit with your GitHub account
To integrate CodeRabbit with your GitHub account, follow these steps:1
Create an account
Visit the CodeRabbit login
page.
2
Login with your git provider
Click Login with GitHub.
3
Authorize
Click Authorize coderabbitai.
Add CodeRabbit to your repository
To add CodeRabbit to your test repository, follow these steps:1
Access repository settings
On the CodeRabbit dashboard, click Add Repositories. A GitHub
repository-access dialog appears.
2
Grant repository access
Select the Only select repositories radio button.
3
Select your test repository
From the Select repositories menu, select the
coderabbit-test
repository that you created earlier in this Quickstart.4
Install and authorize CodeRabbit
Click Install & Authorize.
CodeRabbit requests read and write access to your repository in order for
its code review, issue management, and pull request generation features to
work. CodeRabbit never stores your code. For more information, see the
CodeRabbit Trust Center.
5
Complete signup if prompted
If a CodeRabbit Complete your signup dialog appears, then fill it out
with the requested information before continuing.
Let CodeRabbit perform a code review
The following steps initiate a pull request to add a tiny and somewhat flawed Python library to your repository, triggering analysis and review from CodeRabbit. Use your usual Git workflow to perform the following steps in thecoderabbit-test repository:
1
Create a branch
Create a branch named
add-utils.2
Create a new file
In that new
add-utils branch, create a new file called simple_utils.py, with the following content:3
Commit the file
Commit the added file to the
add-utils branch. Use any text you want for the commit message.4
Create a pull request
Create a pull request that proposes to merge the
add-utils branch into the main branch. Use any text you want for the pull request message.@coderabbitai GitHub account. It performs the following actions, all of which are visible on the pull request’s page on GitHub:
- If you didn’t write a pull request summary, then CodeRabbit adds a new summary to the pull request.
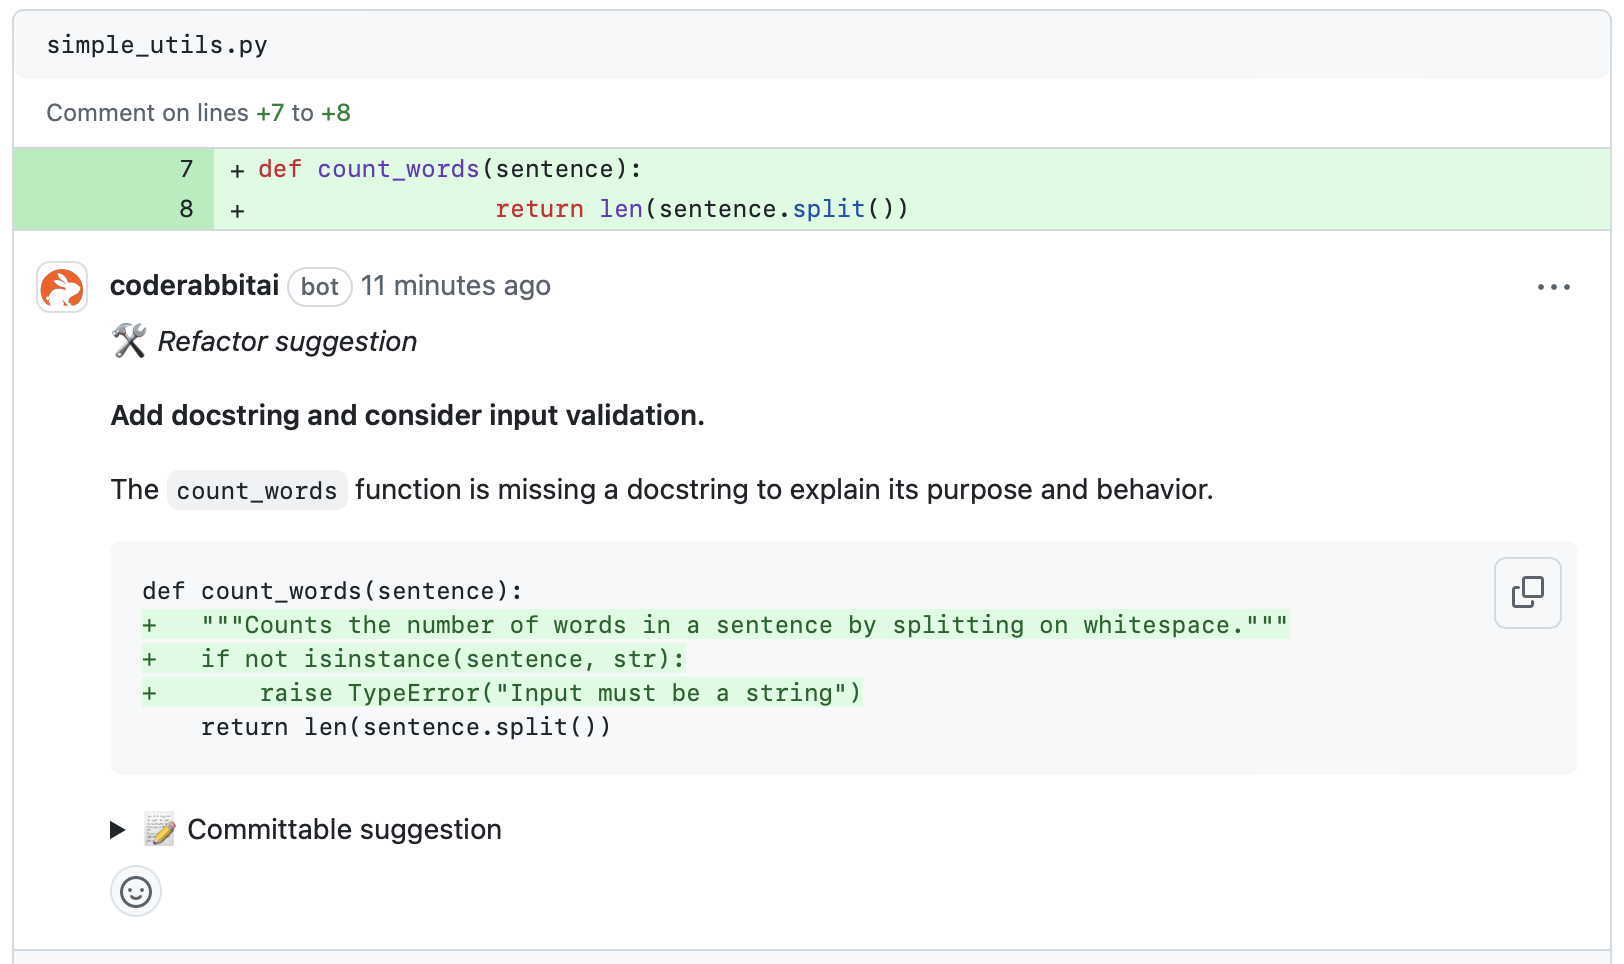
- CodeRabbit posts a comment titled Walkthrough containing analysis and commentary about the content of the pull request.
- CodeRabbit attaches a detailed code review to the pull request as another comment.

Ask CodeRabbit for more information
After CodeRabbit reviews a pull request, you can converse with it about its review. You can also give CodeRabbit special commands to request it to perform specific functions, such as generating appropriate code changes for you.-
Post the following as a new GitHub comment attached to the pull request:
After a few moments, CodeRabbit posts its reply, explaining its motivations for its recommendation. The reply might resemble the following:Chat in PR
You’re right that these functions are quite self-explanatory from their names alone. Docstrings aren’t strictly necessary for every function, especially in smaller projects with clear function names. While docstrings do provide benefits (IDE tooltips, documentation generation, help for future developers), they can sometimes feel redundant for very straightforward functions. It’s ultimately a matter of coding style and project requirements. If you prefer to skip docstrings for obvious utility functions in this project, that’s perfectly reasonable. Would you like me to adjust my review approach regarding documentation for this repository?
In this case, CodeRabbit is offering to adjust its future behavior when reviewing changes to this repository. Instead, follow the next step to ask CodeRabbit to implement part of its suggestions. -
Post the following as another new comment:
After a few moments, CodeRabbit does the following:
- CodeRabbit creates a new branch, based on
add-utils. - CodeRabbit commits changes to the branch that adds suggested docstrings to
add-utils. - CodeRabbit opens a new pull request between the new branch and
add-utils.
- CodeRabbit creates a new branch, based on
Clean up
Continue experimenting with CodeRabbit in your test repository for as long as you like. When you’re finished, you can delete the repository. You are now ready to add CodeRabbit to other repositories that you own, and let it review some real pull requests.What’s next
- Integrate CodeRabbit with your repositories on GitHub, GitLab, Azure DevOps, or Bitbucket.
- Configure CodeRabbit beyond its default settings.
- Add custom review instructions.
- Get support for CodeRabbit.
- Learn more about how CodeRabbit works.